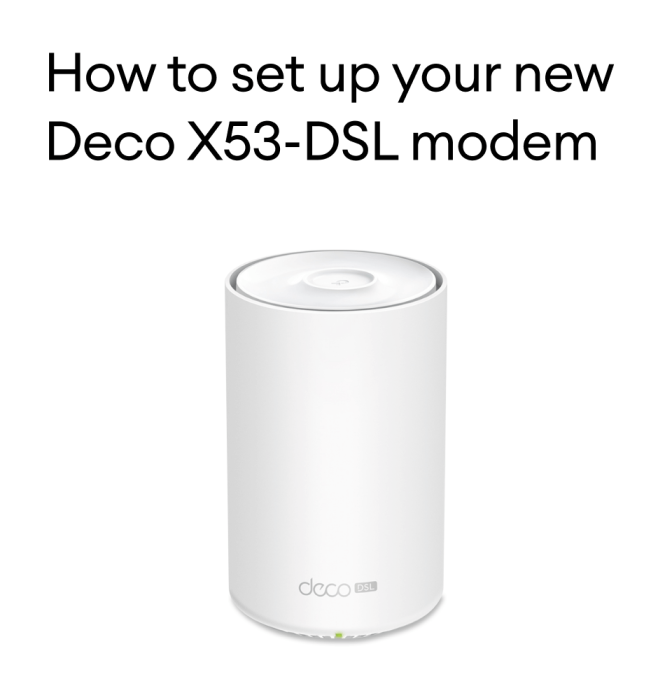
Follow these step-by-step instructions to get your Deco X53-DSL modem set up. This modem/router is versatile, and can be used for a Fibre connection, and can also be used for a *DSL connection. This is SmartWiFi.
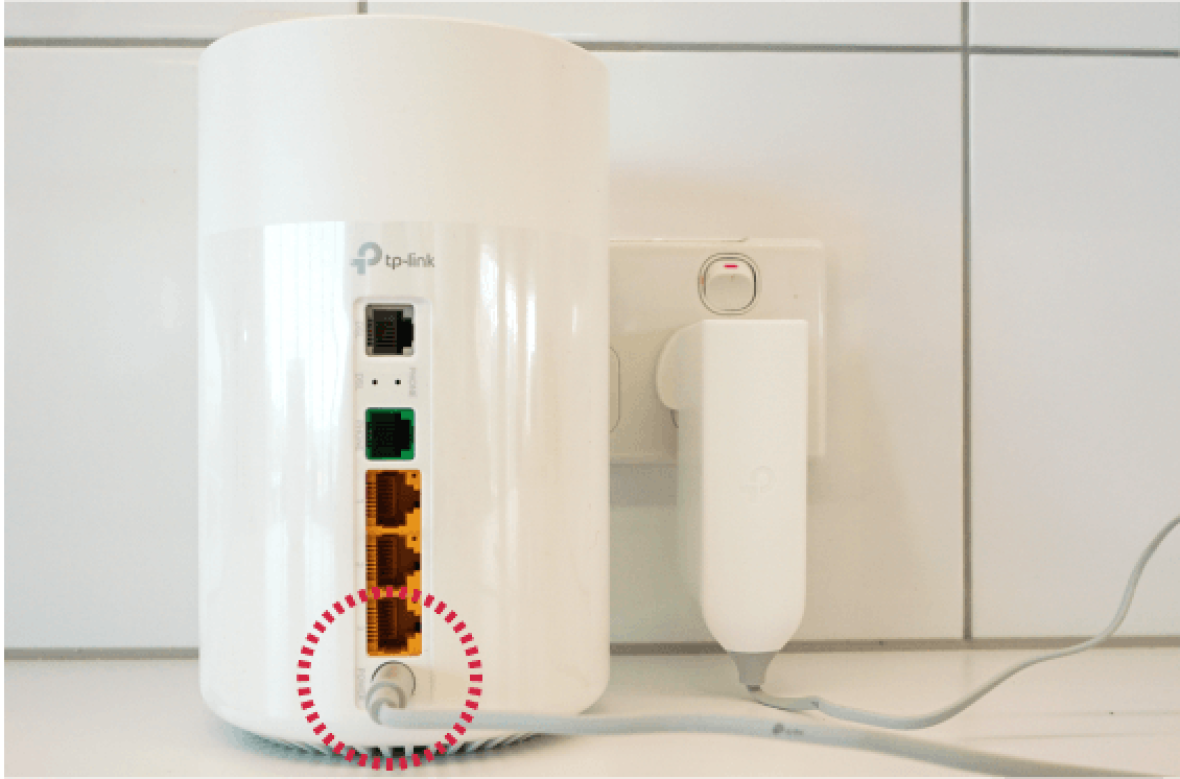


1. Connect the modem to power
Plug the power adapter into the modem and to the wall socket.
If you are subscribed to a phone service, then plug your phone's cable into the green modem port.
If you are subscribed to a phone service, then plug your phone's cable into the green modem port.
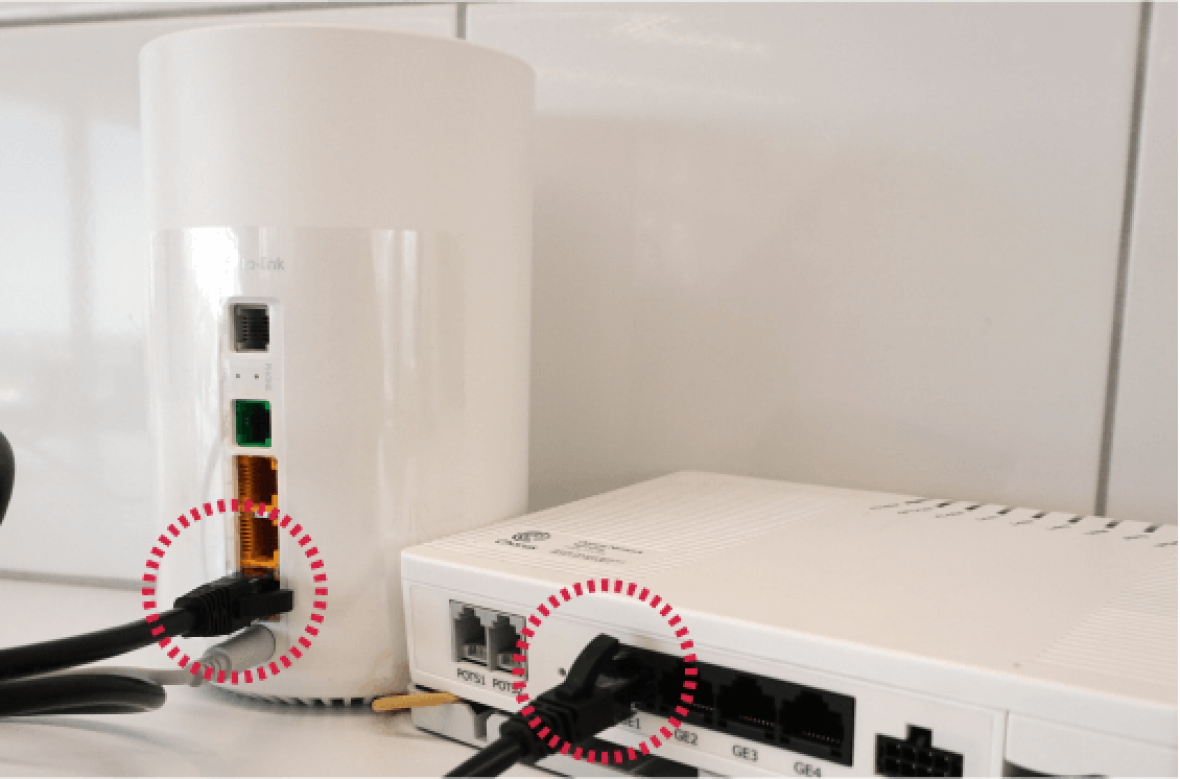


2. Connect the network cable to the ONT fibre box
Use a network cable to connect any Yellow port to the ONT Fibre box (which is usually port 1).
For a DSL service, connect the DSL cable between the DSL port on the modem and the phone jack point.
For a DSL service, connect the DSL cable between the DSL port on the modem and the phone jack point.
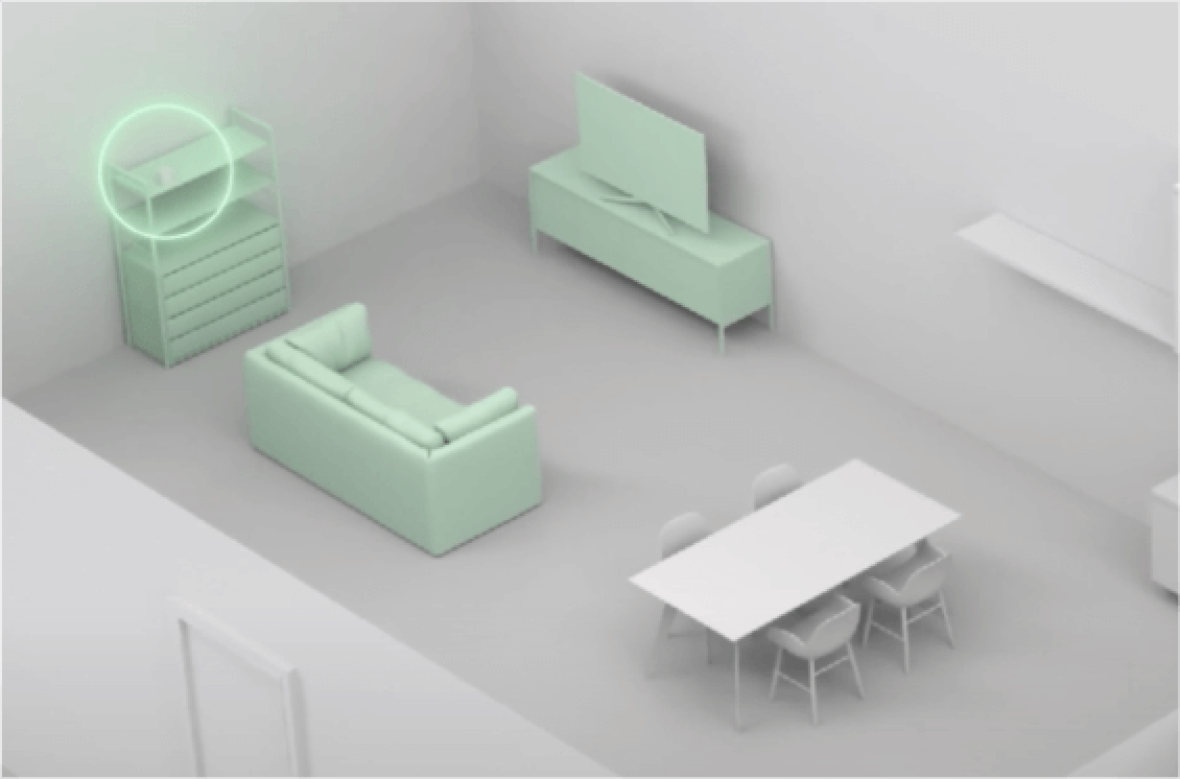


3. Place the modem in an high-up, open space
Place the Deco modem in an open space, high and ideally, away from obstacles.
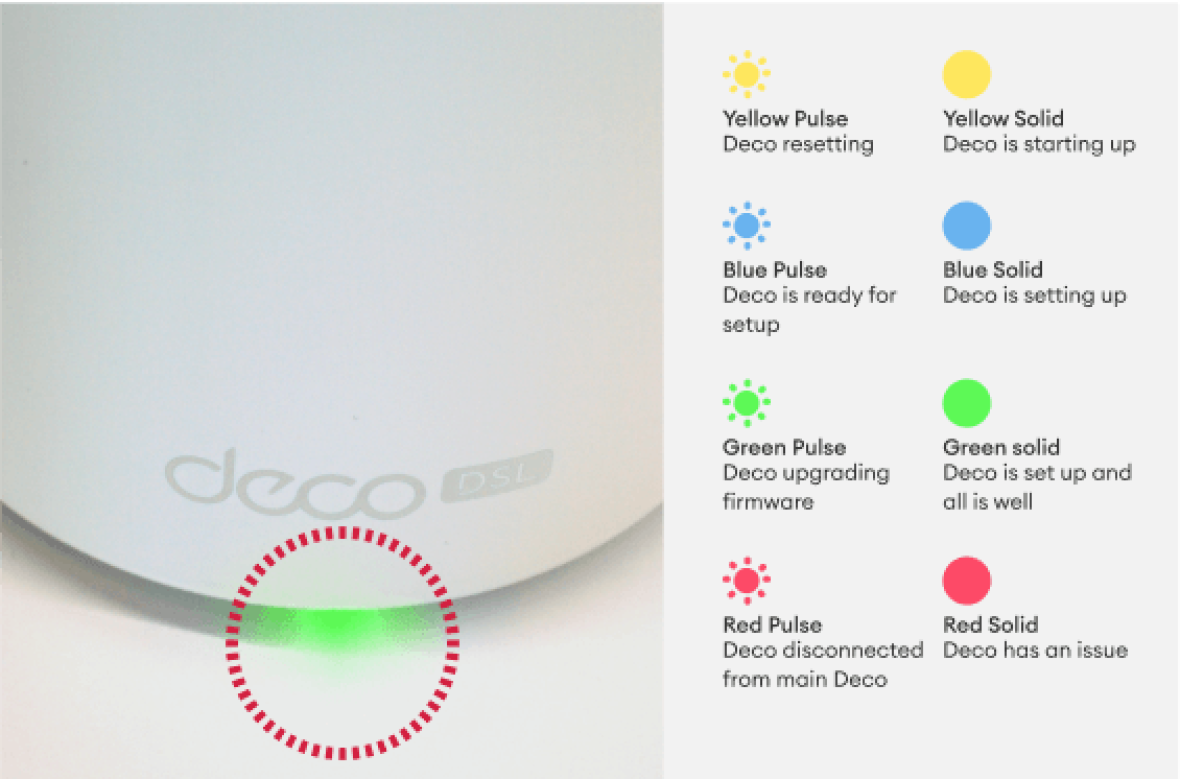


4. Connect modem to the internet
Wait for the light on your modem to turn solid green - which shows that you are now connected to the internet.
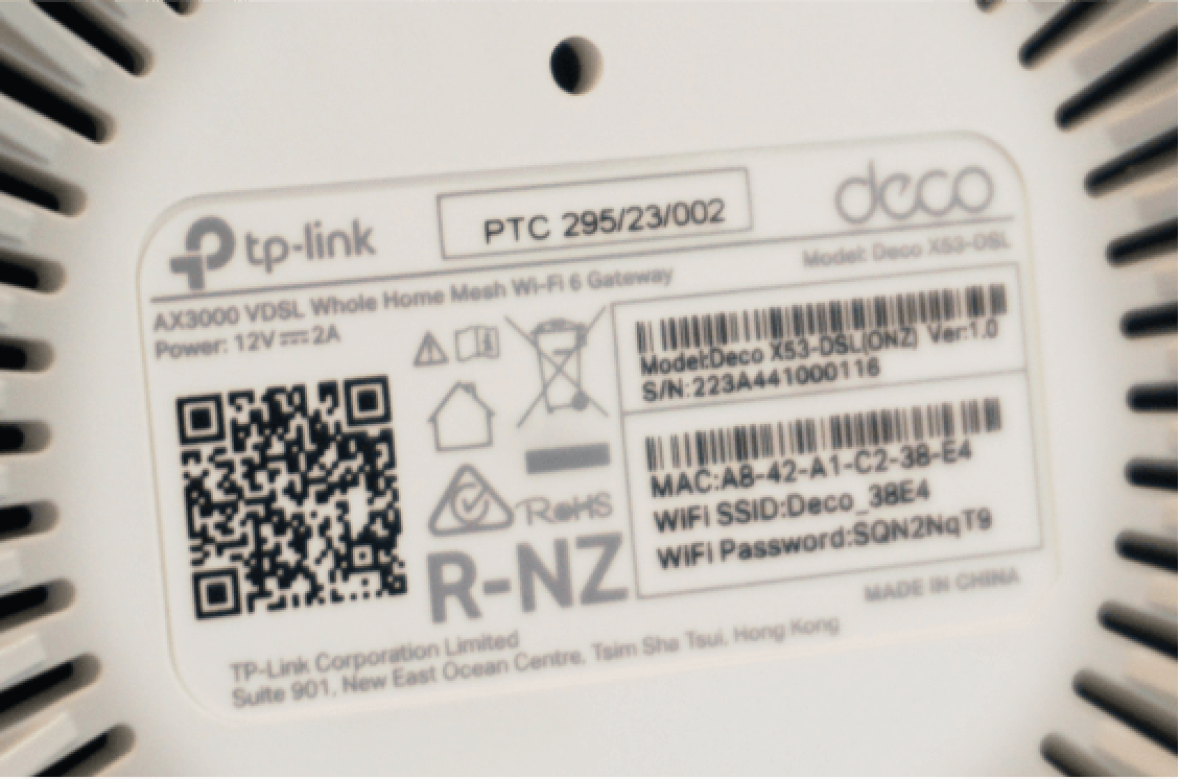


5. Find your WiFi login details on bottom of modem
Scan the QR code, or simply use the WiFi username (SSID) and password on the base of the modem to connect to the WiFi.
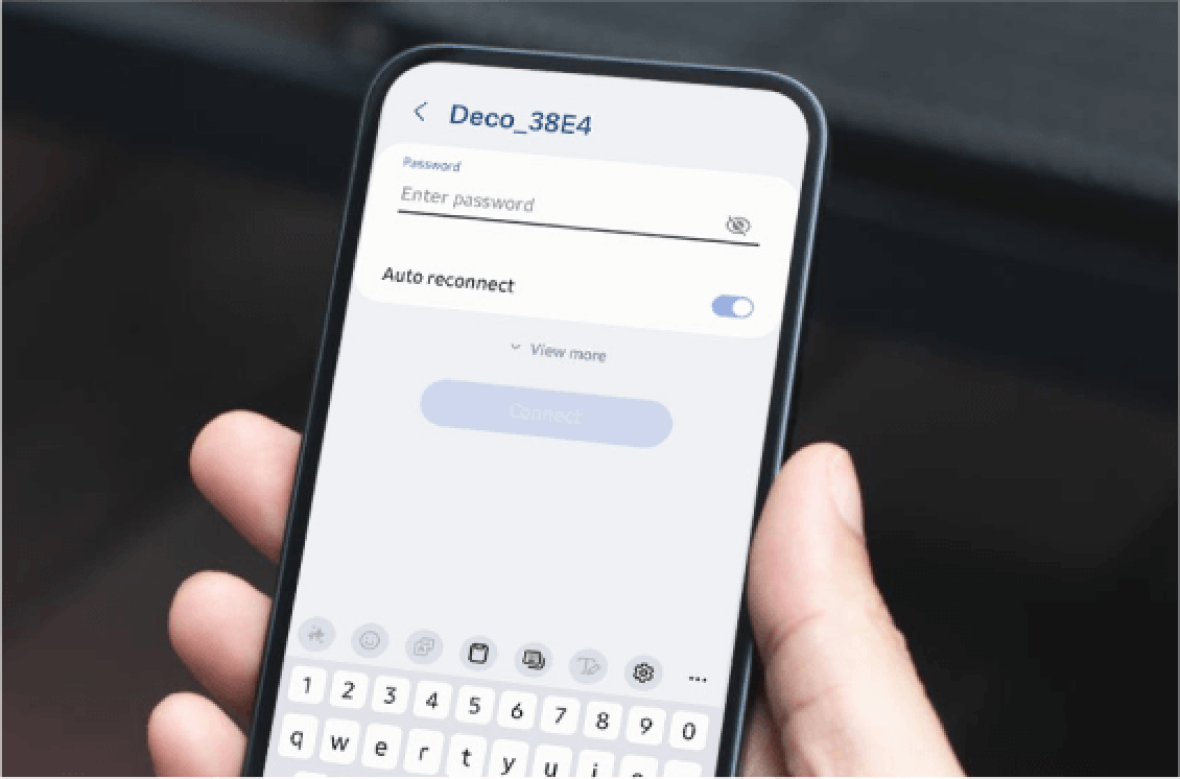


6. Connect to the internet with your devices
Select the SSID provided on the on the bottom of the modem and log in using your device.
To get the most out of your new modem download the TP-Link Deco app.
To get the most out of your new modem download the TP-Link Deco app.
Watch our video on how to set up your Deco X53-DSL modem


