This article explains how can add contacts in Xport Portal for One Business
You should know
By default, all One Business with Webex users are added to a contact directory.
Steps
- Log in to Xport Portal
- Navigate to Services

- Click on the Group Name you want to add a contact to under Unified Comms
- Navigate to the Group Features section
- Click Manage next to Additional Contact List

- Based on the number of contacts that need to be added, select the appropriate option from the below list:


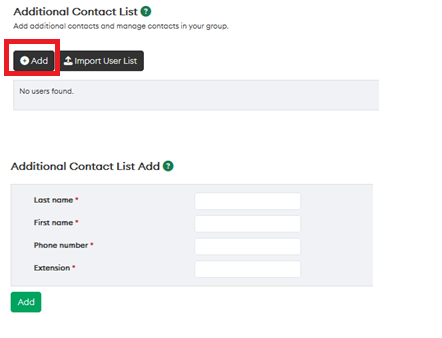
Single User Entry
- Click on Add button as shown in the screenshot

- On the following page, enter all required information
Note: Extension number range should be between 2001 and 9899. - Click Add
Note: This may take up to 72 hours to update.
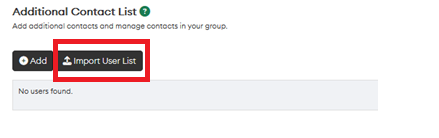
Multiple User Entry
- Click Import User List

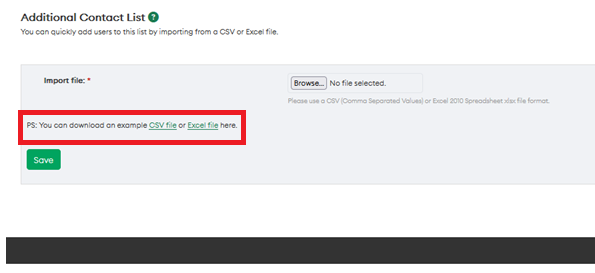
- On the following page, click either CSV or Excel File to download a template

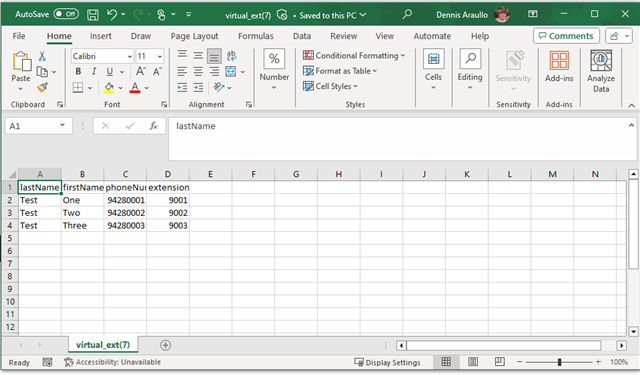
- Enter the required details in the downloaded template
Note: Extension number range should be between 2001 and 9899. - Save the file to your preferred folder
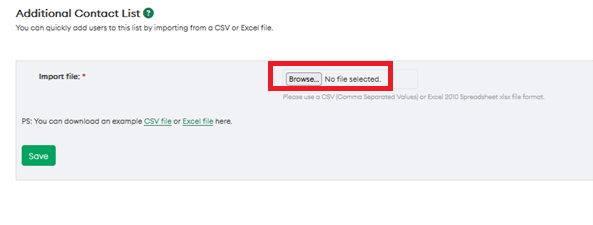
- To upload the file, click on the Browse option

- Click Save
Note: This may take up to 72 hours to update.